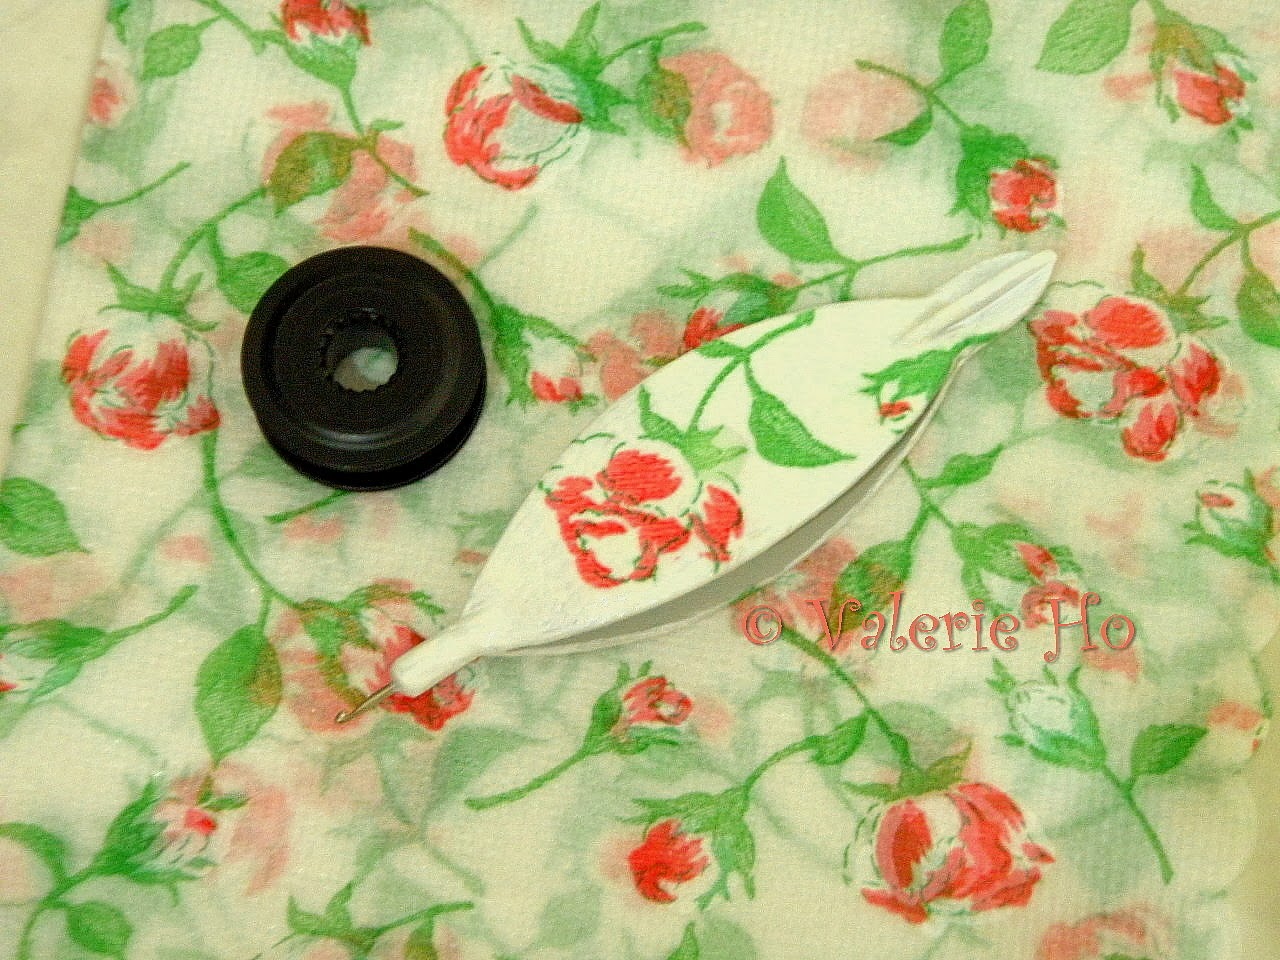
I have been wanting to get my hands on blinging my own shuttle for a while... A couple of days back while out in the malls, I managed to pick up the paint and varnish, and have all the stuff I needed to do it!
The inspiration came from Diane, who gave some awesome instructions here, and Decorama also gave a very useful tutorial on how to bling a shuttle.
I have a good handful of Clovers that are loaded, and I didn't want to ruin or soil them, this being the first time I'm 'messing around' with a shuttle! So I went digging in my basket of tatting supplies, and found an empty shuttle (that I'd abandoned).
The result of a few hours of playing with paint, modge podge, serviettes, varnish and lots of patience (because I had to give time for the layers of paint, modge podge, etc, to dry) is...
 |
| On the front... |

Very pretty shuttle!
ReplyDeleteNicely done! How dis you get the paper down into the fluted area at the tail? That has always mystified me.
ReplyDeleteFox. : )
Heehee, Fox, I'll write you a separate note to try to explain what I did. :)
DeleteGood job, it's very pretty!
ReplyDeleteOh, that's SOOOO pretty. I love the pattern on the shuttle too. Is it fabric you've used or paper?
ReplyDeleteJane, I used paper tea towels for parties! :)
DeleteYou have done an excellent job on this shuttle, I am still trying to get up a lot of courage to try...I have all the stuff to do it but the time is all I need Hugs
ReplyDeleteJoy in Australia
Joy, nothing should stop you! It's really not that hard. Just give it a shot! Who knows, you'd be addicted after that... :D
DeleteI did post a comment but it seems that it went stray so here we go again....your blinged shuttle is just lovely, I have got all the supplies to do the same thing but it is the time I need...the days go so fast
ReplyDeleteHugs
Joy in Australia
Excellent work Val, just love the design
ReplyDeleteYou've done a beautiful job! Decoromana's directions are the ones that got me started. Some day if hope to do as good a job as she does!
ReplyDelete